A simple, safety-focused checklist for choosing truss, lighting clamps, base plates, and rigging gear for your first stage setup.
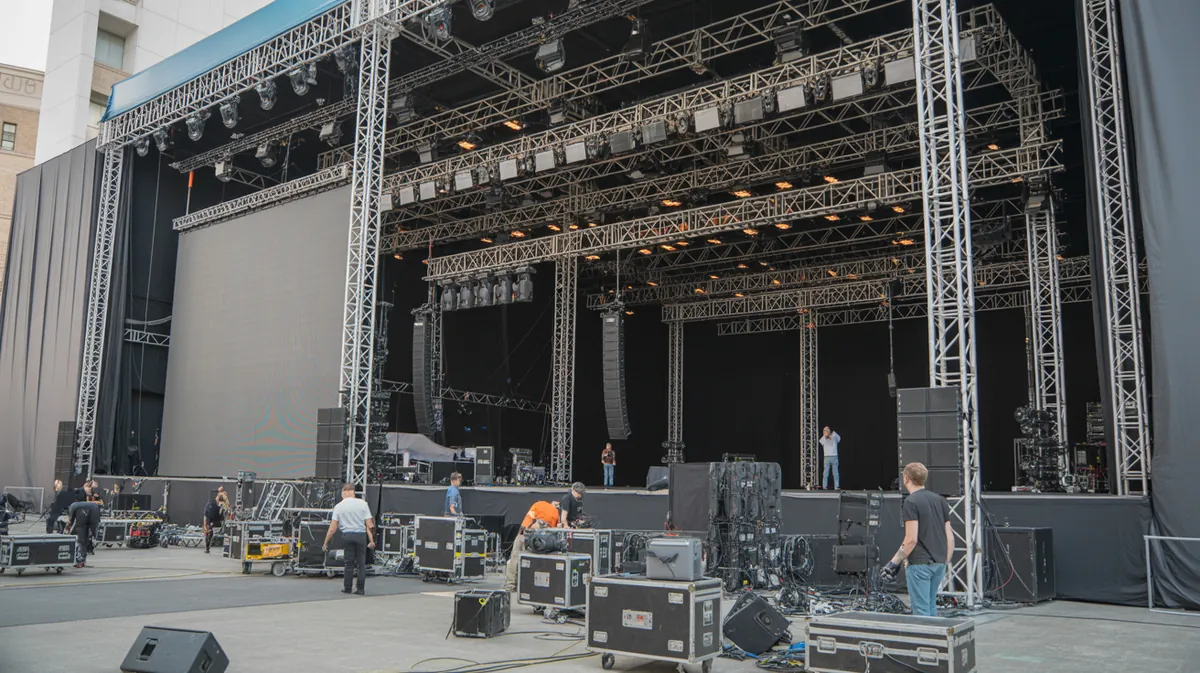
Planning your first event stage setup can feel overwhelming, especially if you’re trying to figure out which truss, lighting, and rigging equipment you actually need. The good news is that a solid first build does not have to be complicated. With the right plan, the right components, and a safety-first mindset, you can create a stage setup that is stable, functional, and ready for lighting and show production.
This guide walks you through a beginner-friendly checklist for a first-time stage build, with practical tips for choosing stage truss, mounting lights, and assembling a reliable rigging setup. Whether you’re setting up for a school event, corporate presentation, wedding, church service, or small concert in the Houston area, these basics will help you start with confidence.
1. Start With the Event Requirements
Before you buy or assemble anything, define what the stage needs to do. A simple stage for speakers or a DJ has very different needs than a concert stage with multiple lighting fixtures and hanging effects.
Ask these questions first
- How large is the stage or performance area?
- Will lights be mounted overhead or on side structures?
- Do you need a simple ground-supported truss frame or a larger multi-point structure?
- How much weight will the truss need to support?
- Will the setup be used indoors, outdoors, or both?
Answering these questions helps you choose the right event stage equipment from the beginning instead of overbuying or underbuilding.
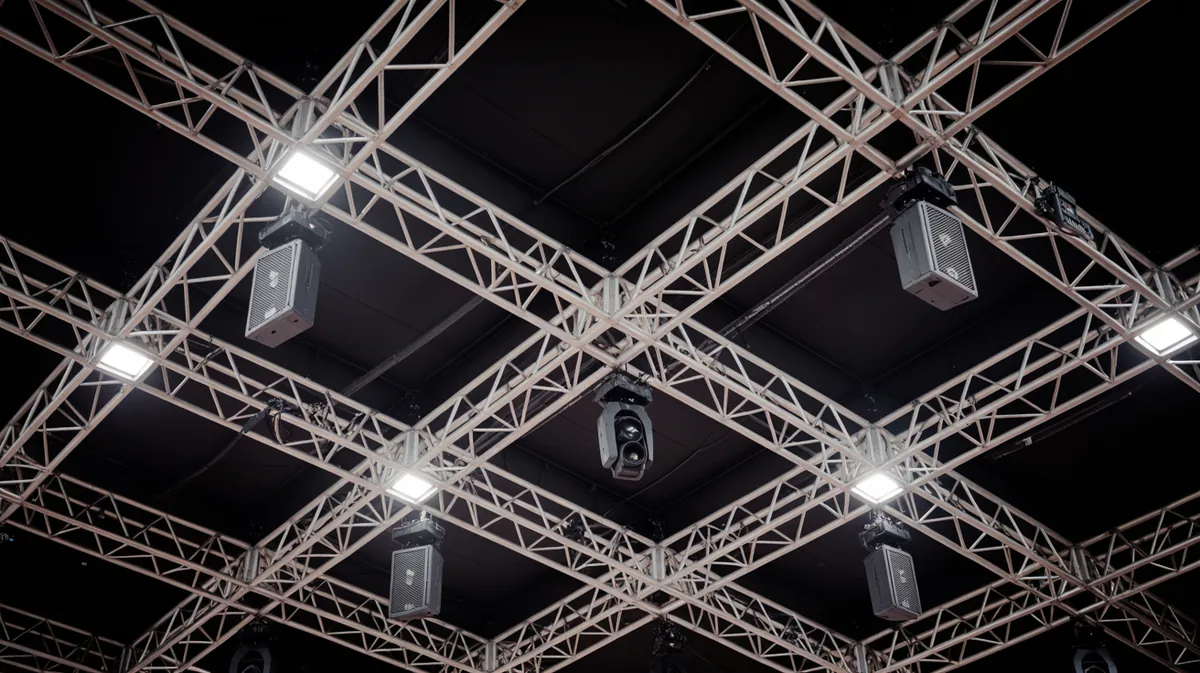
2. Build Around the Truss Structure
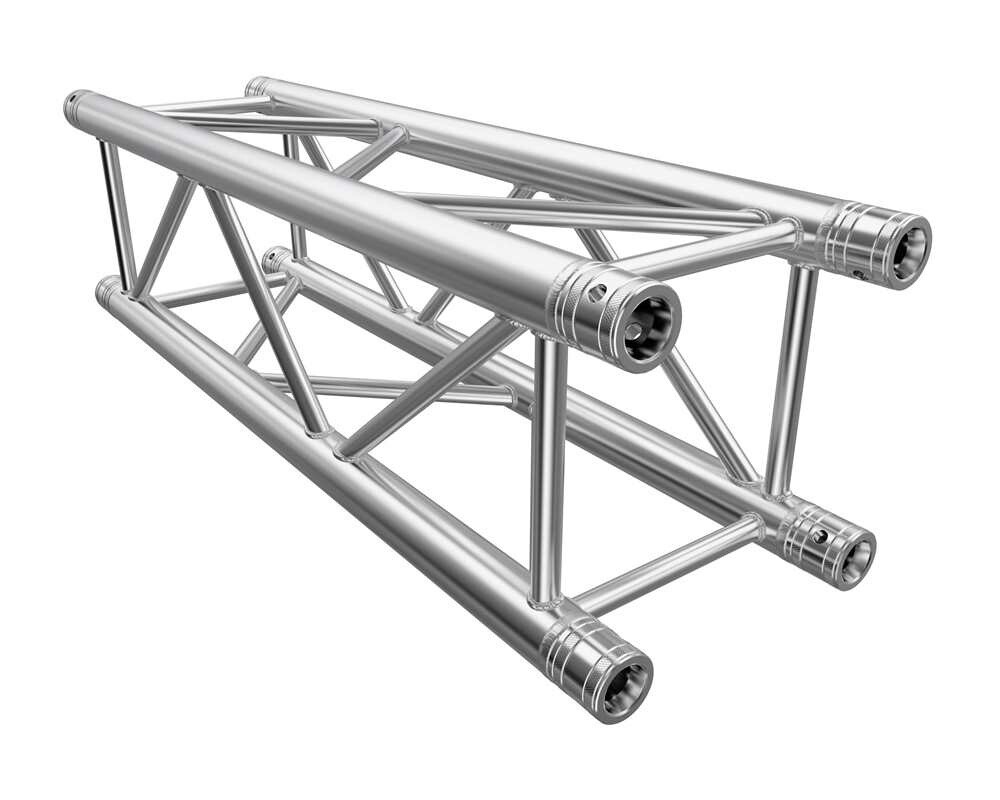
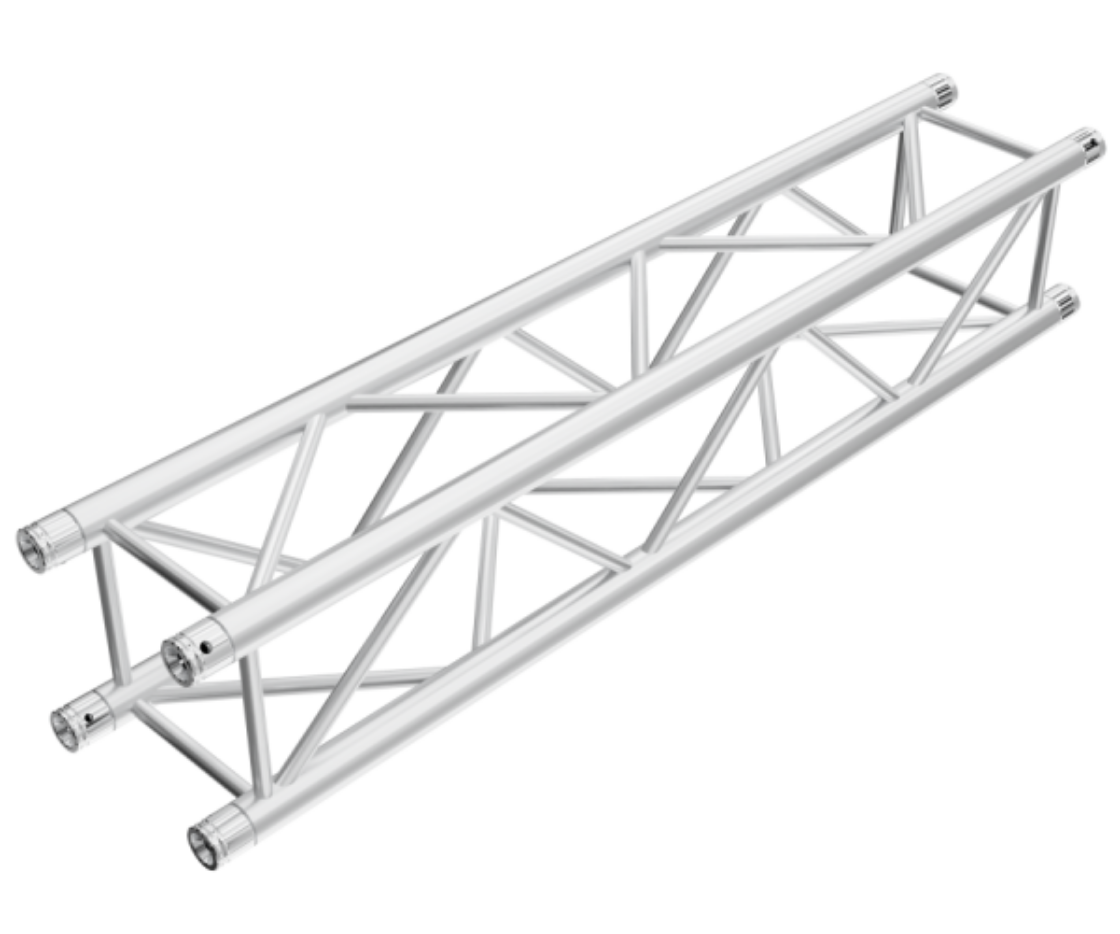
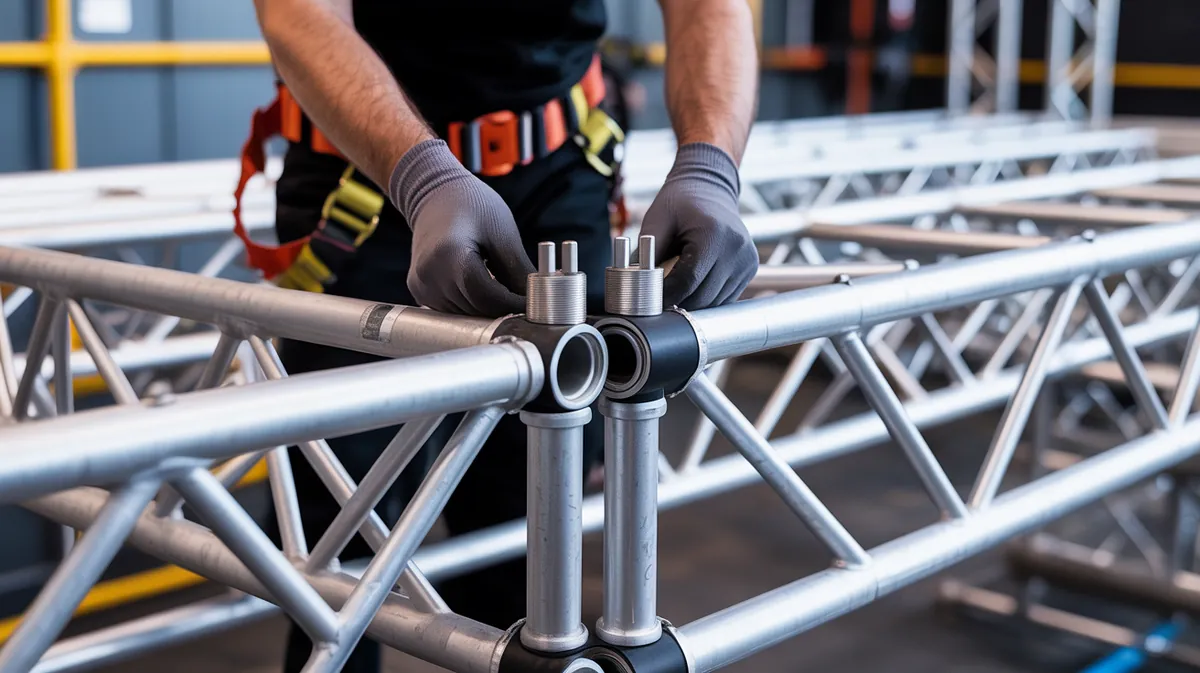
For most first-time setups, the truss is the backbone of the rig. It gives you a strong frame for lights, speakers, banners, and other production gear. A common starting point is F34 truss, which is popular because it is strong, modular, and widely used for stage and event production.
If you are building a straight span or a square frame, a product like the F34 Truss - 1m - 290mm x 290mm or 2m - F34 Truss - 290mm x 290mm gives you flexible section lengths so you can size the structure to the venue. The 290mm x 290mm square profile is a standard format that balances strength and manageable handling.
Truss checklist
- Measure the performance area before choosing truss lengths.
- Plan for future expansion if you think the setup may grow.
- Use matching truss components from the same system when possible.
- Inspect every section for bends, damage, or worn connection points.
Practical tip: If this is your first build, keep the structure simple. A clean rectangle or square layout is easier to assemble, easier to level, and easier to troubleshoot.
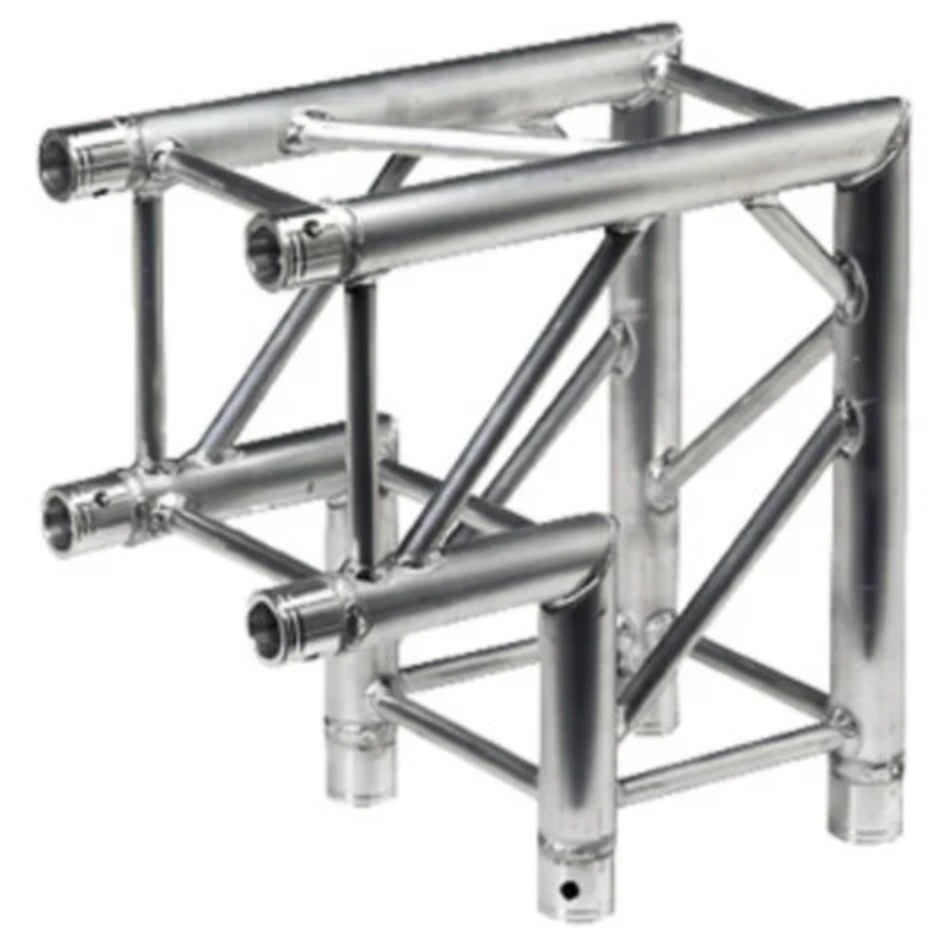
3. Choose the Right Corners and Connections
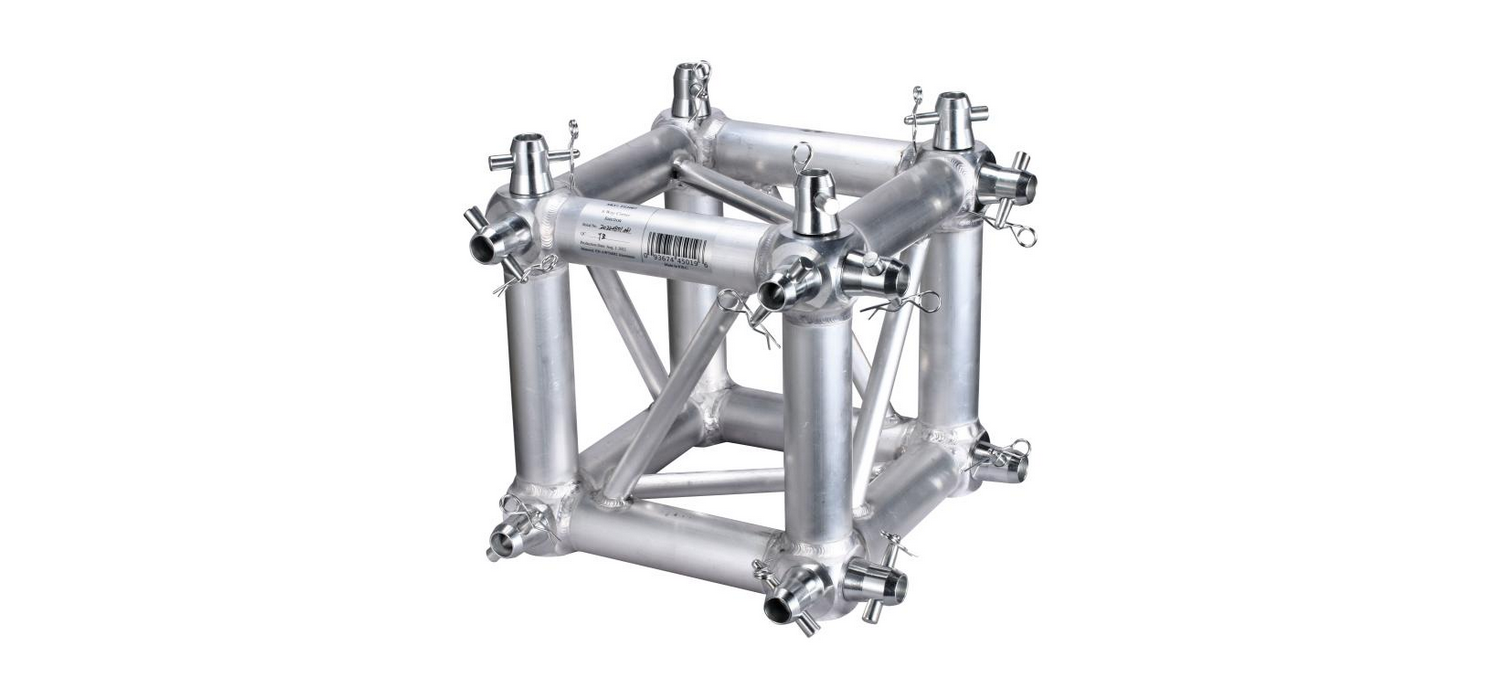
Corners are what turn straight truss sections into a stage frame. For basic builds, a 2-Way Corner, F34, 290mm x 290mm is ideal for creating strong 90-degree turns. This is useful when making a square overhead grid or a simple boxed frame for lighting.
For more advanced layouts, a 6-Way Corner, F34, 290mm x 290mm can connect multiple directions at once, which is helpful when building more complex stage designs. Beginners usually do not need this right away, but it is useful to know it exists if the project becomes larger later.
Corner and connection best practices
- Match the corner type to the layout you are building.
- Double-check all connection hardware before lifting anything into place.
- Keep your frame symmetrical whenever possible for better balance.
Safety note: Never assume a corner connection is secure just because it looks aligned. Confirm that every section is fully seated and properly fastened before adding weight.
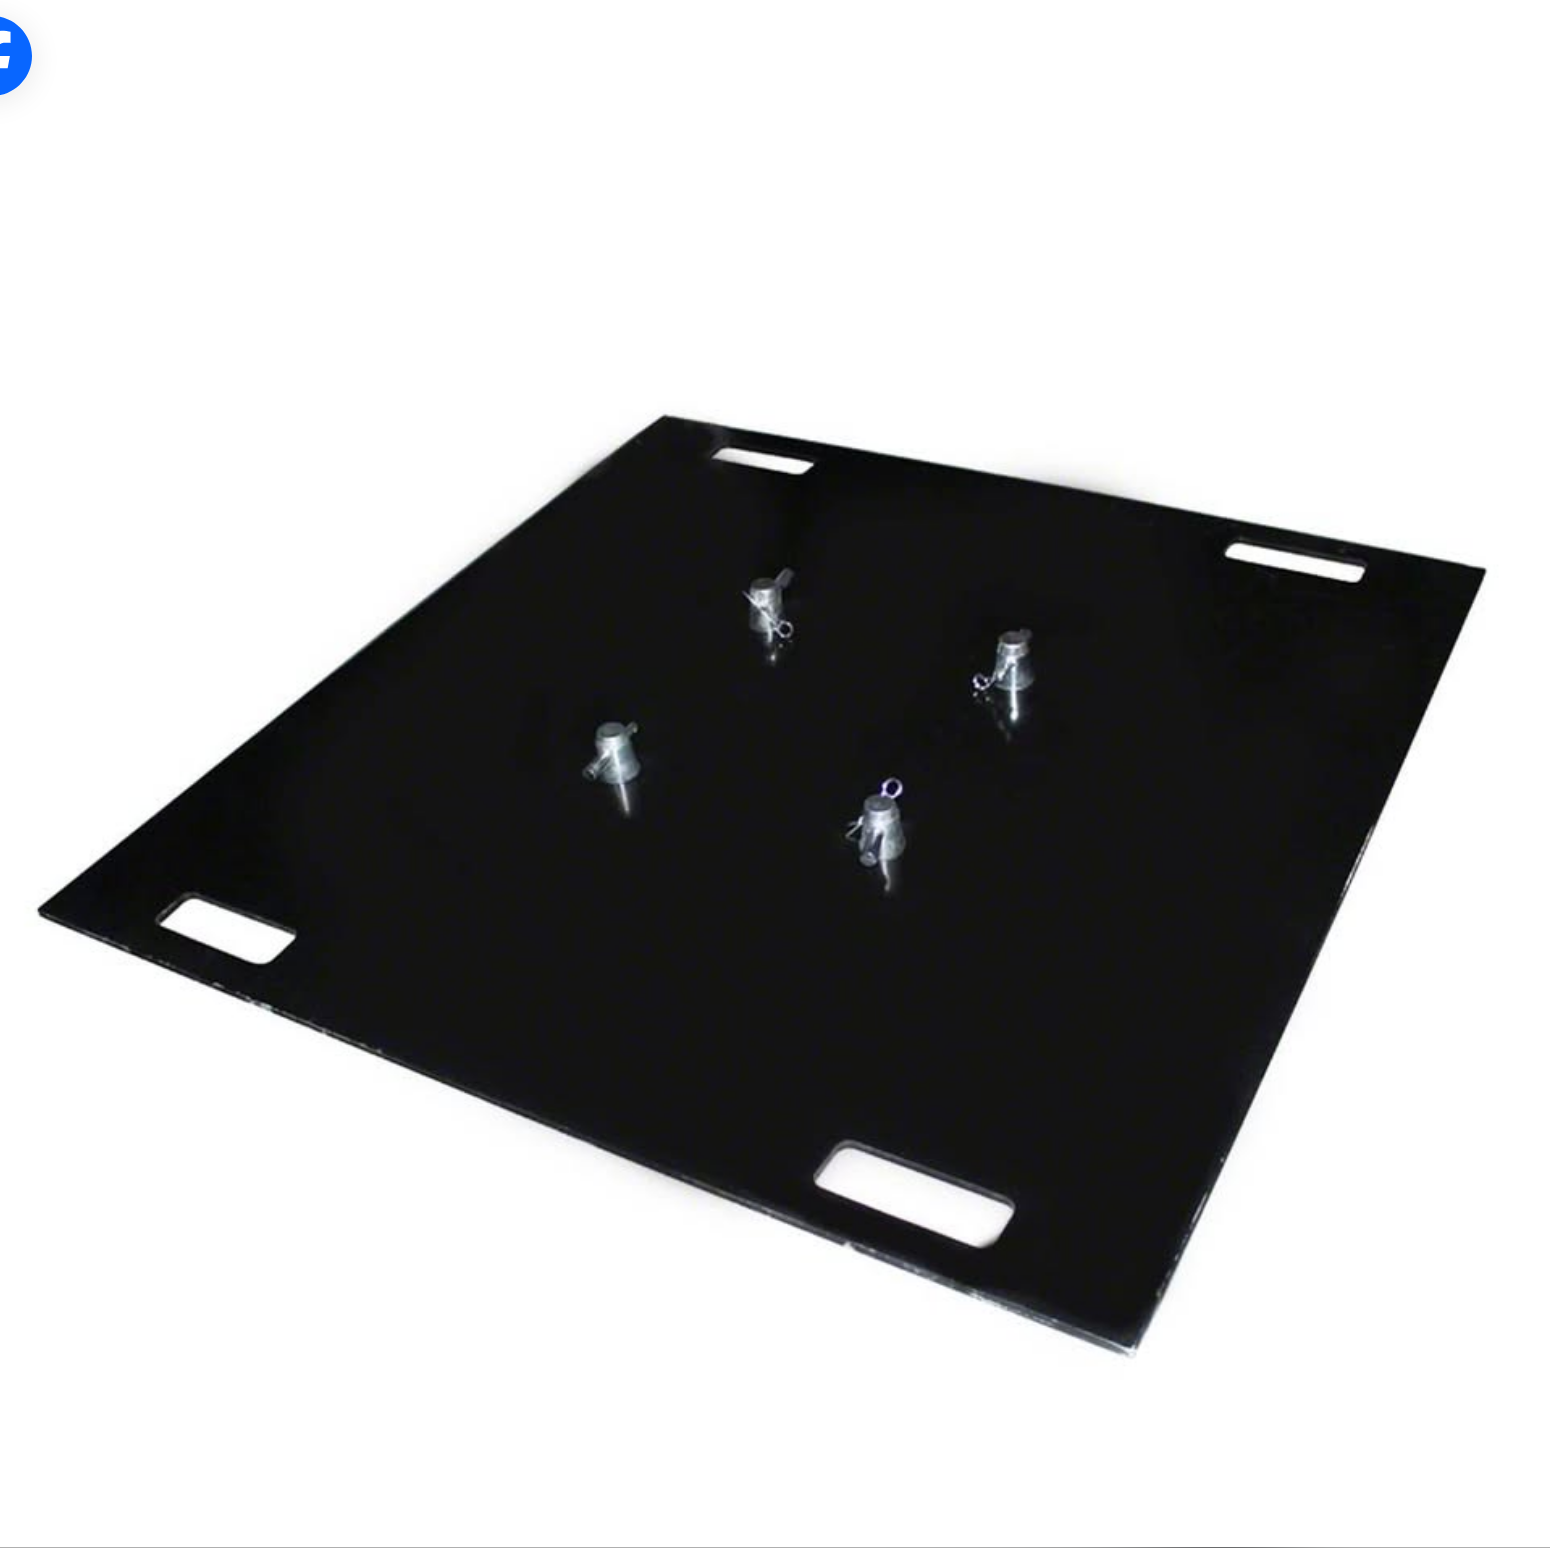
4. Don’t Skip the Base Plates
Every truss structure needs a stable foundation. That is where base plates come in. A F34 Base Plate - 600mm x 600mm x 10mm or the larger F34 Base Plate - 800mm x 800mm x 10mm helps distribute weight and keeps vertical truss sections steady on the ground.
For a first setup, the base plate is one of the most important safety components. It helps prevent tipping, wobbling, and uneven loading.
How to choose a base plate
- Use a larger base plate if the structure will carry more load or stand taller.
- Make sure the plate matches the truss system.
- Use level ground whenever possible.
- Do not place base plates on soft or unstable surfaces without additional support.
If your event is outdoors in the Houston area, take weather and ground conditions seriously. Wind, soft soil, or uneven pavement can affect stability, so plan the footprint carefully and use proper ballast or anchoring where required.
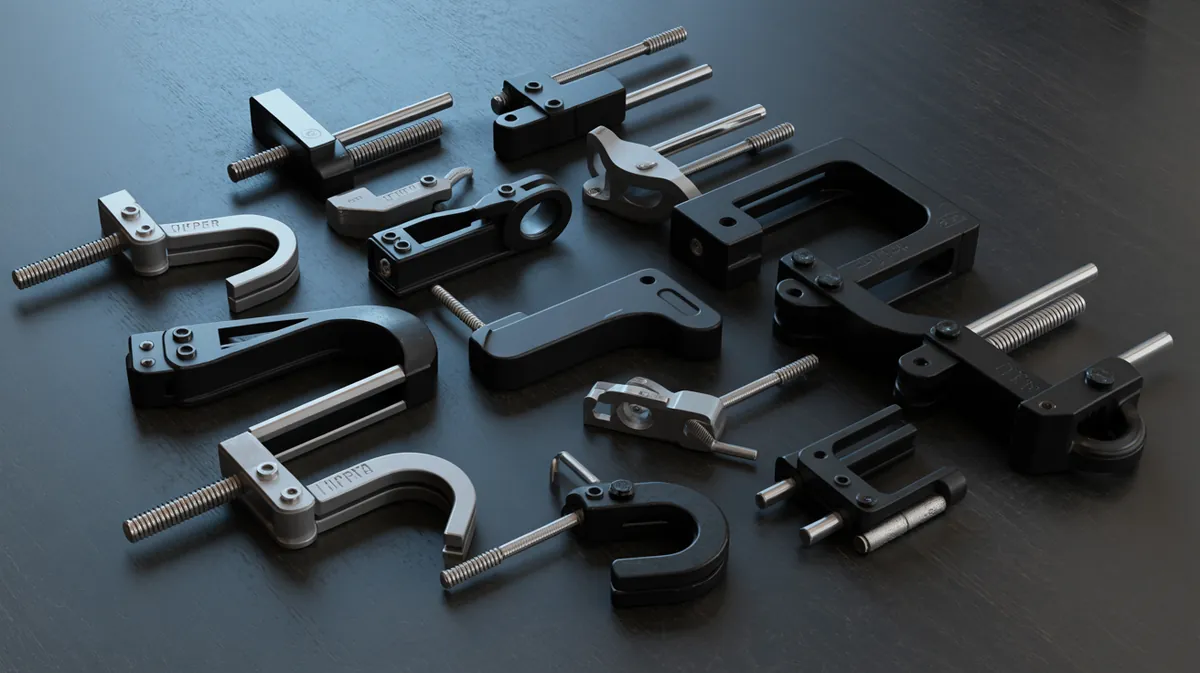
5. Plan How You’ll Mount Lighting
Once the truss structure is in place, the next question is how to safely attach lighting fixtures. This is where lighting clamps matter. The clamp you choose should fit your pipe or truss diameter securely and be appropriate for the weight of the fixture.
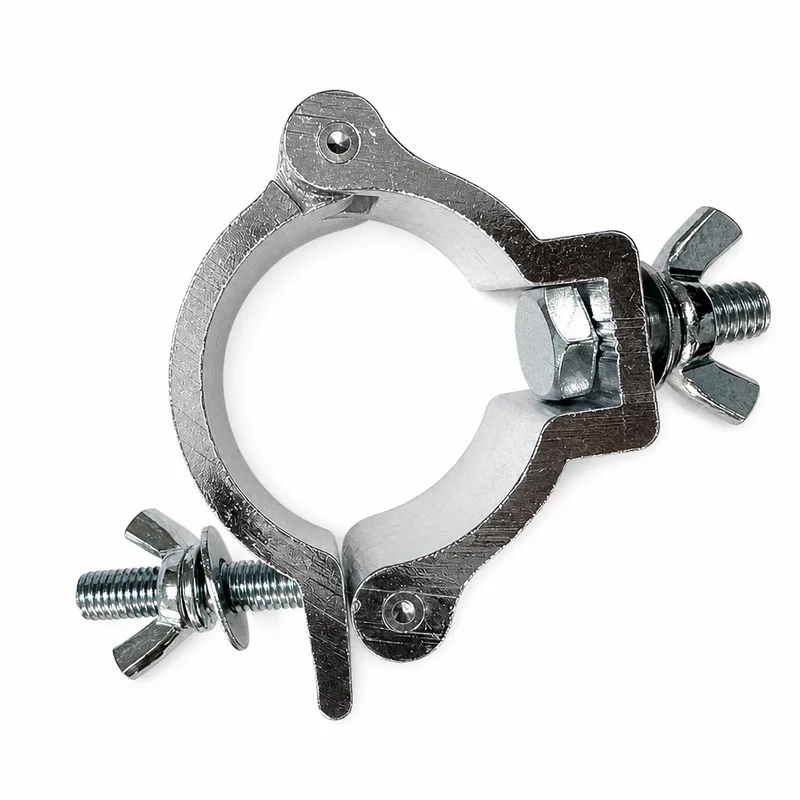
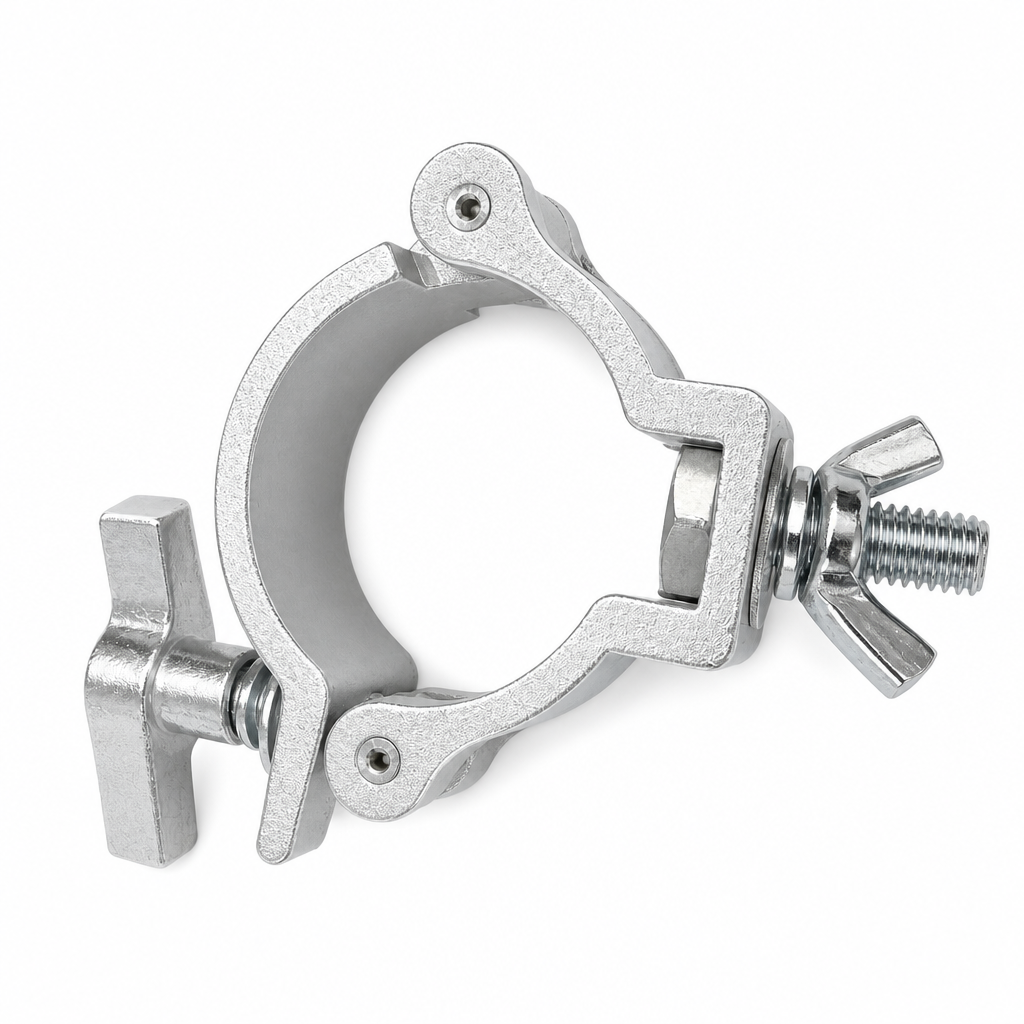
Two beginner-friendly options are the Round clamp / coupler style and the Round clamp / coupler style - Type 2. Both are heavy-duty metal clamp/coupler designs made to secure gear to round tubing or truss. They feature a hinged clamp body and a wing-nut fastener for quick, tool-free tightening. That makes them convenient for fast setup and breakdown.
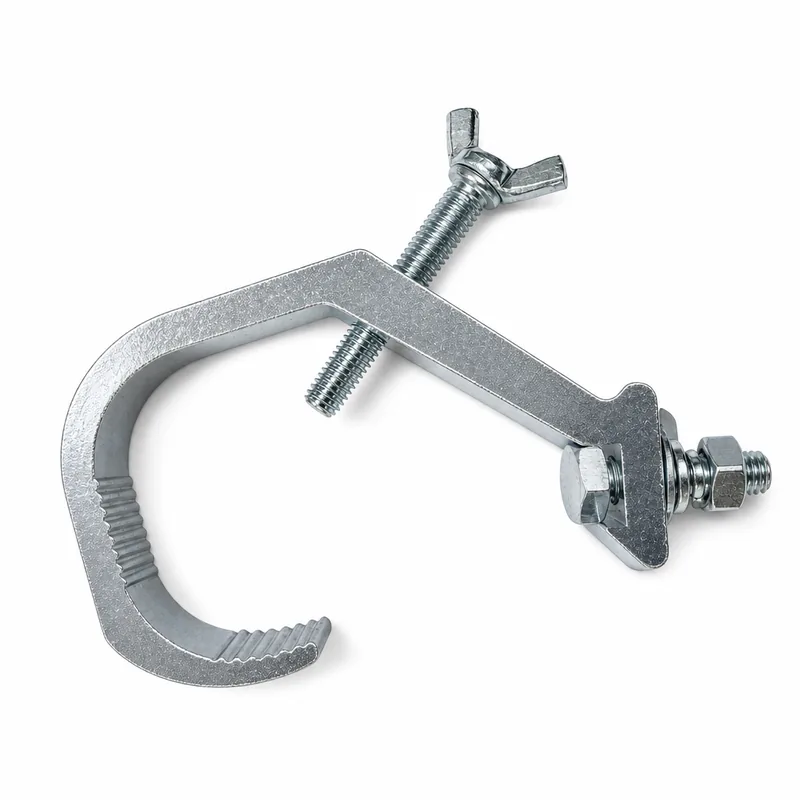
Another strong option is the C-style clamp, a professional lighting clamp machined from aluminum alloy with a precision-threaded bolt for secure, adjustable mounting on 48–51mm (2") O.D. truss pipe and lighting bars. It is a good choice when you want a dependable, adjustable mount for stage lighting equipment.
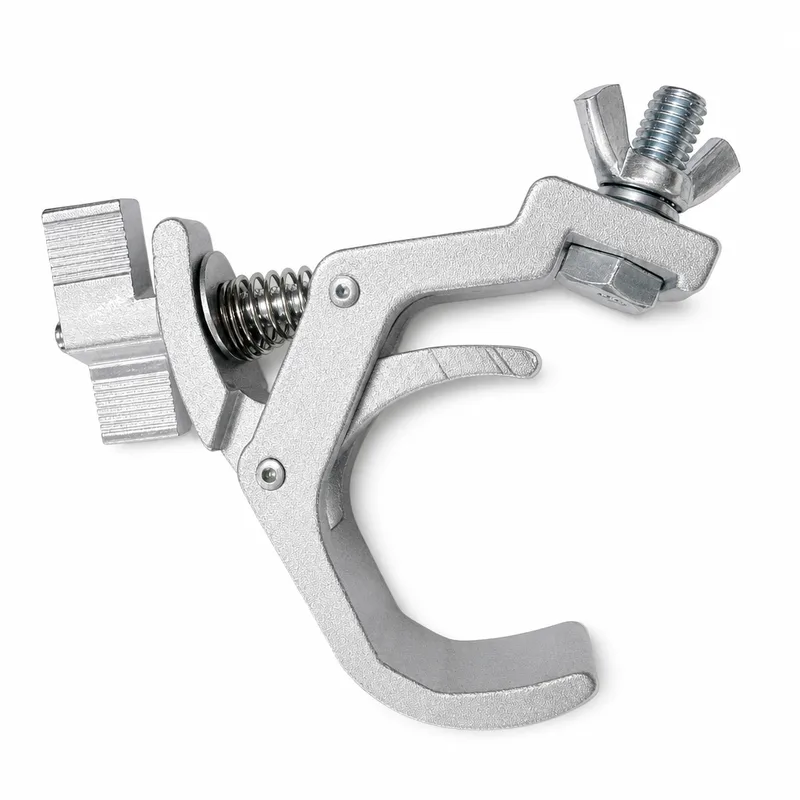
For quick one-handed attachment, the Trigger / spring clamp is also useful. It uses a spring mechanism for fast mounting on 48–51mm (2") O.D. truss pipe and lighting bars. This can save time during setup, especially when you are placing multiple fixtures.
Lighting clamp checklist
- Confirm the clamp fits the exact pipe or truss diameter.
- Choose clamps rated for the weight of the fixture.
- Keep safety cables in use even when clamps feel secure.
- Test each mounted light by gently checking for movement before power-up.
Best practice: Use the clamp that fits the job, not just the one that is fastest. Speed is helpful, but secure mounting is more important.
6. Include Safety Cables and Rigging Checks
Good rigging is not just about holding equipment up; it is about preventing failures. Every hanging fixture should have a backup safety cable where appropriate. This is especially important for lighting fixtures mounted above people.
Rigging safety checklist
- Inspect all truss, clamps, and connectors before assembly.
- Confirm that all bolts and fasteners are tight.
- Use safety cables on overhead lighting fixtures.
- Keep the load balanced across the structure.
- Do not exceed the rated load of any component.
- Re-check connections after moving or raising the structure.
Important: If you are unsure about load calculations or overhead rigging requirements, consult a qualified stage rigger or production professional. Safety always comes first.
7. Create a Simple Assembly Order
One of the easiest ways to reduce stress on show day is to follow the same build order every time. A clear process keeps the team organized and reduces mistakes.
Recommended setup sequence
- Lay out all truss sections, corners, base plates, and clamps.
- Inspect hardware and confirm nothing is missing.
- Assemble the base and vertical supports first.
- Add corner pieces and horizontal spans.
- Level and stabilize the structure.
- Mount lighting fixtures with the correct clamps.
- Attach safety cables and verify all connections.
- Run power and cable management last.
This order keeps the structure stable before you start hanging gear, which is much safer than trying to mount equipment while the frame is still incomplete.
8. Final Pre-Show Checklist
Before the audience arrives, do one last walk-through. Even experienced crews use a final check because small issues are much easier to fix before showtime.
Final checklist
- All truss connections are fully seated and secured.
- Base plates are level and stable.
- Lighting clamps are tightened correctly.
- Safety cables are attached.
- Cables are routed neatly and not creating trip hazards.
- The structure is balanced and visually aligned.
- Nothing is loose, missing, or overloaded.
If something feels wrong, stop and fix it. A few extra minutes now can prevent a costly or dangerous problem later.
Conclusion
Planning your first event stage setup becomes much easier when you break it into parts: choose the right F34 truss, use stable base plates, connect corners carefully, and mount lighting with proper clamps and safety equipment. Start with a simple layout, keep the build organized, and always prioritize safety over speed.
With a thoughtful checklist and dependable stage rigging equipment, you can create a professional-looking setup that works well for your event and gives you room to grow for future productions. If your first build is successful, you will not just have a stage—you will have a repeatable process for every event that follows.
Stay Updated
Get notified about new products, deals, and industry guides.
No spam. Unsubscribe anytime.
Products Mentioned in This Guide
Shop the equipment referenced in this article.
F34 2-Way 90° Corner Block | 290mm Square Box Truss Junction | 6061-T6 Aluminum
$189.99

F34 Base Plate 600mm × 600mm × 10mm | Ground Support Plate for 290mm Box Truss
$199.99
F34 1m (3.28ft) Straight Square Aluminum Truss | 290mm Box Truss | CCS Conical Connection
$179.99$155.00
F34 Base Plate 800mm × 800mm × 10mm | Heavy Duty Ground Support for 290mm Box Truss
$274.99

F34 Aluminum Top Plate 300mm × 300mm | Truss Top Cap for 290mm Box Truss
$139.99
F34 2m (6.56ft) Straight Square Aluminum Truss | 290mm Box Truss | CCS Conical Connection
$349.99$300.00
F34 6-Way Corner Junction Block | 290mm Square Box Truss Connector | 6061-T6 Aluminum
$274.99
Half Coupler Clamp for 2" (48–51mm) Truss Pipe | Aluminum Swivel Stage Clamp
$14.99
Heavy Duty C-Clamp for 2" (50mm) Truss Pipe | Aluminum Stage Lighting Clamp | 165 lb SWL
$9.99
Heavy Duty Half Coupler Clamp Type 2 for 2" (48–51mm) Truss | Hinged Stage Lighting Clamp
$14.99
Quick-Release Trigger Clamp for 2" (50mm) Truss Tubing | One-Handed Stage Lighting Clamp | 165 lb SWL
$19.99
Related Guides
Truss Load Capacity and Structural Safety: Understanding Weight Ratings, Span Limits, and Engineering Calculations for Stage Rigging
A practical guide to truss load capacity, span limits, and structural safety for stage rigging. Learn how to evaluate weight ratings, understand real-world load conditions, and choose the right F34 truss components for safe, professional event builds.
Stage Lighting Clamps Explained: C-Clamps vs Coupler Clamps vs Trigger Clamps
Compare C-clamps, coupler clamps, and trigger clamps to choose the safest, fastest stage lighting clamp for your truss or pipe.
How to Safely Assemble and Rig F34 Aluminum Box Truss: Step-by-Step Setup and Safety Best Practices
Learn how to assemble and rig F34 aluminum box truss safely with step-by-step setup instructions, load checks, and essential stage rigging best practices.