
How to Use Truss for Building an Effective Stage with Light Rigging
Learn how to build a safe, flexible stage with truss and light rigging, plus practical tips for clamps, truss sections, and setup.
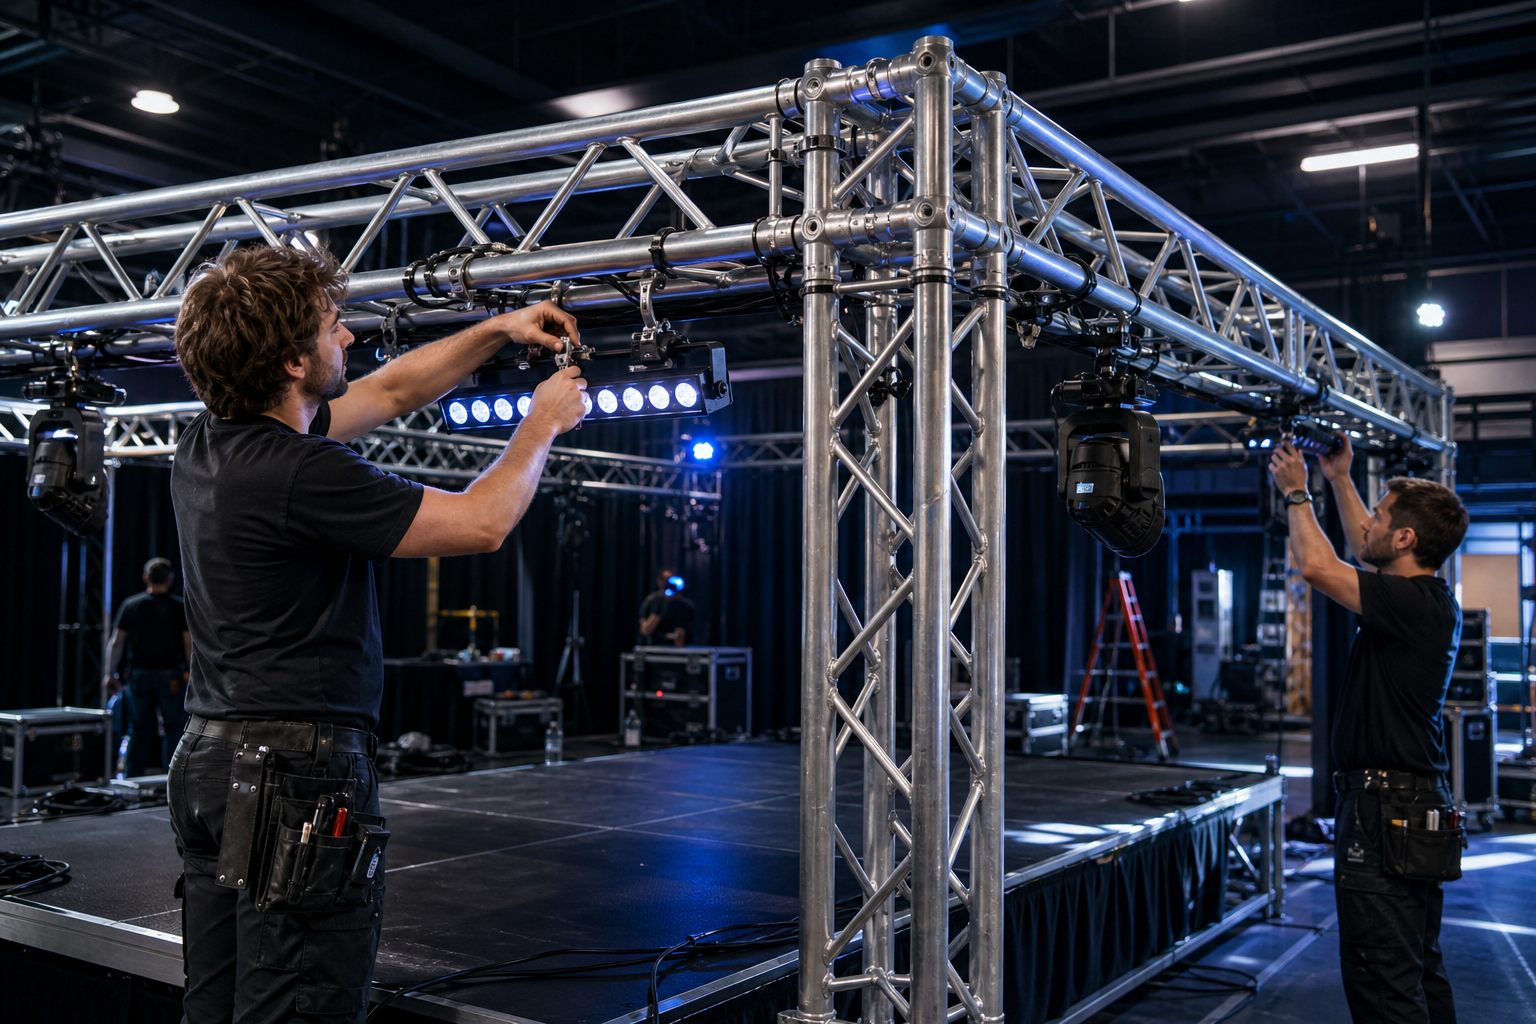
Truss is one of the most useful tools in stage production because it gives you a strong, flexible framework for hanging lights, speakers, backdrops, and other gear. If you are building a stage for a concert, church service, corporate event, school performance, or live stream, the right truss setup can make your rigging cleaner, safer, and easier to manage.
In this guide, we’ll explain how to use stage truss for light rigging in a simple, practical way. We’ll cover common truss shapes, how clamps connect lighting to truss, what to think about for load capacity, and how to plan a stage layout that works well in the real world.
What truss does in a stage setup
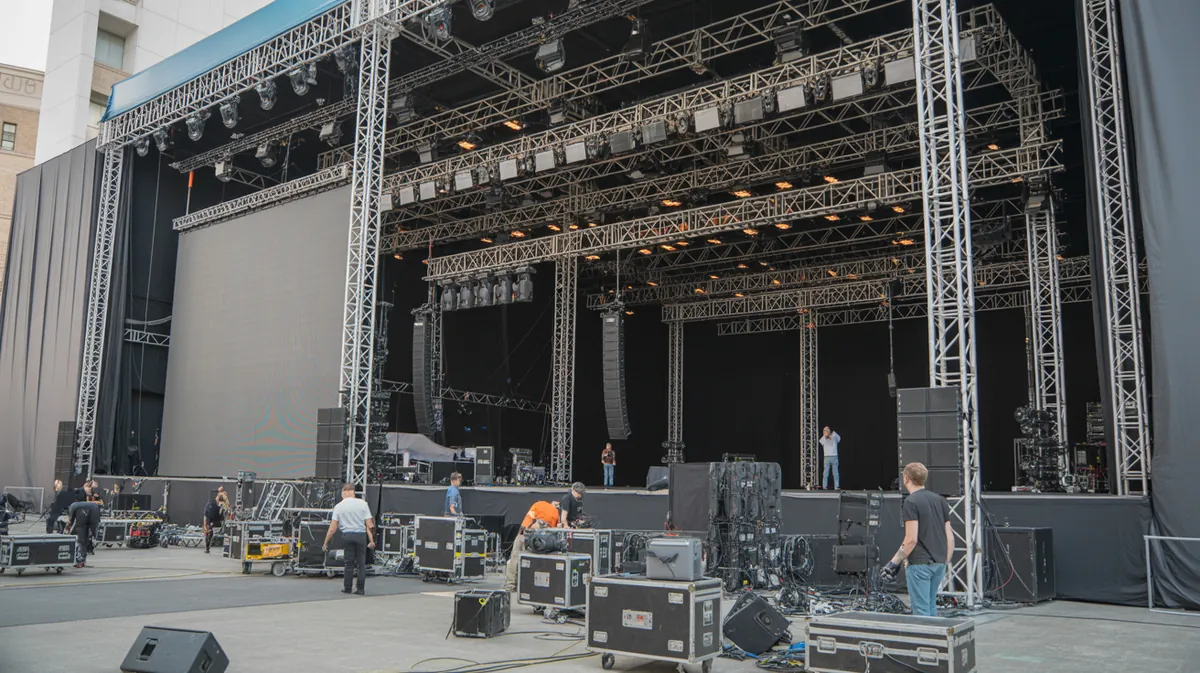
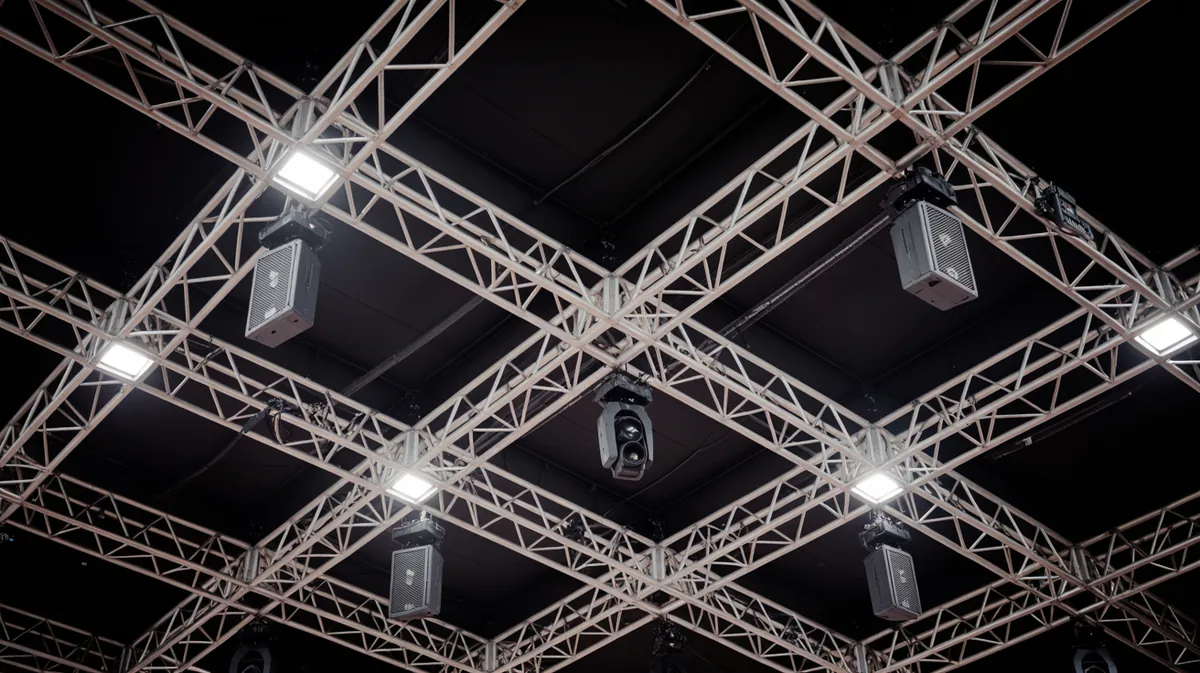
Truss is a strong aluminum framework used to support stage equipment overhead or around the performance area. It spreads weight across multiple connection points, which helps keep lighting and other gear stable. In a basic lighting rig, truss may be used as a front lighting bar, a overhead grid, a goalpost-style structure, or part of a larger stage design.
For most event setups, truss solves two big problems: it keeps equipment organized and it gives you safe mounting points for lights. Instead of hanging fixtures from random stands or temporary supports, truss creates a planned structure that is easier to build, adjust, and inspect.
Choose the right truss for the job
Before you start hanging lights, it helps to understand the type of truss you’re using. One of the most common options in event production is F34 square aluminum truss, which is popular because it is strong, versatile, and suitable for many stage and lighting applications.
F34 truss for stage lighting
The F34 1m Straight Square Aluminum Truss is a great choice when you need shorter sections for compact rigs, corner pieces, or custom layouts. It is often used for smaller stages, booth displays, and smaller lighting runs where precision matters.
The F34 2m Straight Square Aluminum Truss is useful when you need longer spans and fewer connection points. This can make your rig cleaner and reduce the number of joints you have to manage. For larger stages, the 2-meter section can help build overhead bars, side towers, or support beams for multiple fixtures.
Both of these F34 sections use CCS conical connections, which are designed for fast assembly and a secure fit. That matters because event crews often need to set up and tear down quickly while still keeping the rig stable.
How to decide between 1m and 2m sections
- Use 1m sections when you need flexibility, tighter spacing, or a custom stage shape.
- Use 2m sections when you want to cover more distance with fewer joints.
- Mix both sizes if you are building a modular rig that must fit different venues.
If you are new to truss, a modular approach is usually best. It lets you build a stage that can grow over time instead of forcing you into one fixed configuration.
How to attach lights to truss
Once your truss structure is assembled, the next step is mounting lighting fixtures. This is where the right clamp matters. The clamp is the connection point between your light and the truss, so it needs to match the diameter of your pipe or truss tube and hold the fixture securely.
Common clamp options for stage lighting
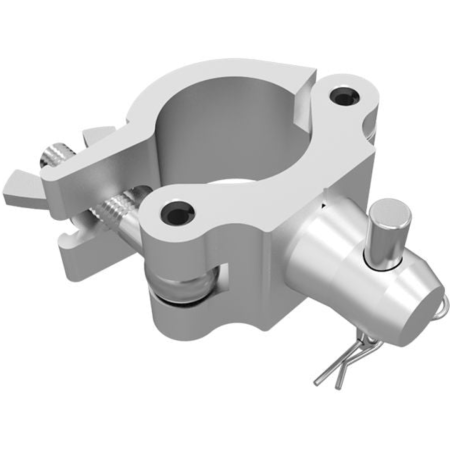
The Pro Truss Clamp Coupler is a heavy-duty half-coupler designed for 2-inch OD truss tubes. It is built from aircraft-grade aluminum with stainless steel hardware and has a SWL of 1,100 lbs. That makes it a solid option for heavier stage lighting and professional rigging applications where reliability is important. Its quick-locking mechanism also helps speed up setup.
The Half Coupler Clamp for 2" Truss Pipe and the Heavy Duty Half Coupler Clamp Type 2 are practical choices for mounting lighting to round tubing or truss. These hinged clamps use a wing-nut fastener, which is helpful if you need to attach fixtures quickly without tools.
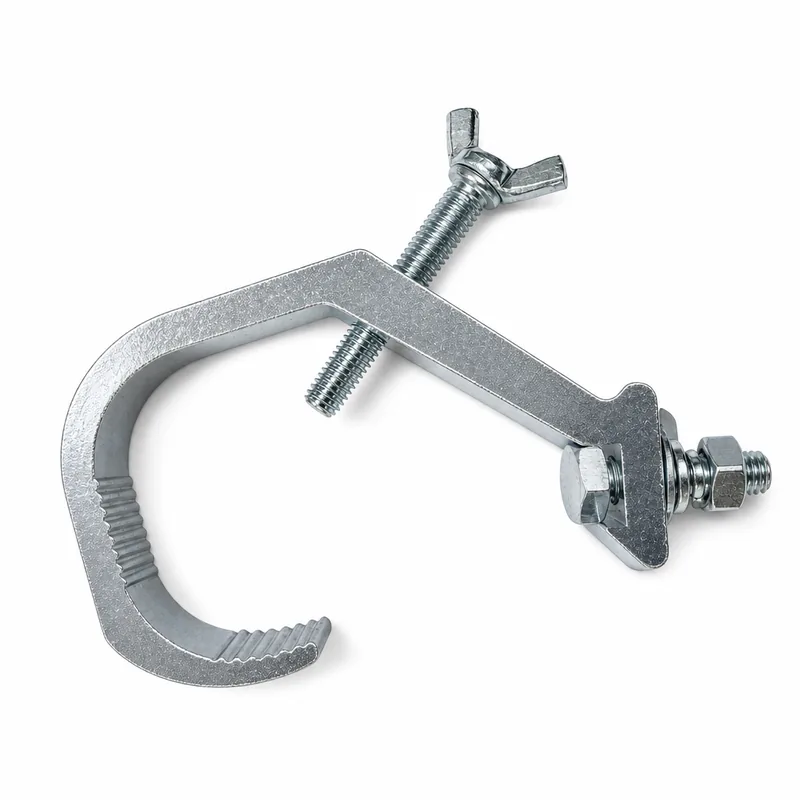
If you are mounting lighter fixtures and want a simple solution, the Heavy Duty C-Clamp for 2" Truss Pipe is another option. It is rated at 165 lb SWL and is commonly used for stage lighting equipment that does not require a heavy-duty coupler.
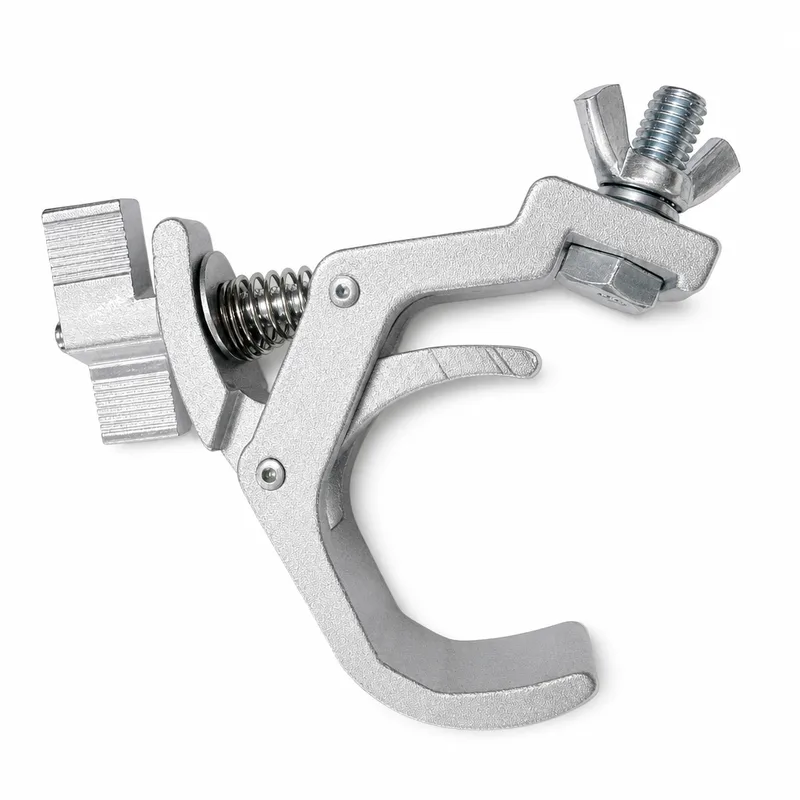
For fast setups, the Quick-Release Trigger Clamp is especially useful because it allows one-handed attachment. This can save time when you are hanging multiple lights, adjusting fixture positions, or working with a small crew.
Choosing the right clamp
- Use half-couplers for secure, professional mounting on 2-inch truss tubing.
- Use trigger clamps when speed matters and you need quick one-handed installation.
- Use C-clamps for lighter-duty lighting applications where a simple, adjustable mount is enough.
Always match the clamp to the actual truss or pipe diameter. A clamp that is too loose, too small, or designed for the wrong pipe size can create unnecessary risk.
Step-by-step: building a basic truss lighting rig
If you are building a small stage lighting system, here is a simple process to follow.
- Plan the stage layout. Decide where the audience, performers, and lighting positions will be.
- Select your truss sections. Choose 1m or 2m F34 sections based on the size of the stage.
- Assemble the truss structure. Connect the sections using the proper conical connection system and make sure every joint is fully seated.
- Add support stands or towers. Do not rely on truss alone unless the system is designed for that use.
- Attach lighting clamps. Mount your fixtures with the correct couplers or clamps.
- Run cables neatly. Secure power and signal cables so they do not hang loosely or pull on fixtures.
- Check balance and spacing. Make sure the load is distributed evenly across the structure.
- Inspect the entire rig. Before powering lights, review every connection, clamp, and lock.
Best practices for effective light rigging
A good stage lighting rig is not just about hanging lights overhead. It is about creating the right coverage, avoiding shadows, and making the stage look balanced from the audience’s point of view.
Spread the load evenly
Try not to place all heavy fixtures in one area. Distribute them across the truss so the weight is balanced. This helps the rig stay stable and makes lifting or adjusting easier.
Keep fixture spacing consistent
Even spacing usually produces better lighting coverage. For example, if you are using front wash lights on a truss bar, space them so the stage is evenly lit without bright hotspots or dark gaps.
Think about cable management early
Good cable routing matters as much as the truss itself. Use tie-wraps, cable ties, or clips to keep cables neat and away from moving parts. This improves safety and makes the rig look more professional.
Build with access in mind
When planning your truss, make sure you can still reach fixtures for aiming, maintenance, and troubleshooting. A setup that is impossible to service will slow you down later.
Safety considerations you should not skip
Stage truss and lighting rigging must be treated seriously. Even a well-built system can become unsafe if it is overloaded or assembled incorrectly.
- Check working load limits for every clamp, truss section, and support structure.
- Do not exceed the lowest-rated component in the chain.
- Inspect hardware before each use for cracks, bent parts, or worn threads.
- Use proper lifting support for larger overhead rigs.
- Make sure all connection pins and locks are fully engaged before loading gear.
- Follow local safety rules and venue requirements for overhead rigging.
If you are unsure whether a setup is safe, it is better to reduce the load, simplify the rig, or ask a qualified rigger to review the design. Safety should always come before convenience.
Example use cases for truss and light rigging
Small concert stage: Use F34 1m sections to build a compact front truss with several wash lights attached using half-coupler clamps or trigger clamps.
Corporate event: Use F34 2m sections to create a clean overhead lighting bar with evenly spaced fixtures for a polished, professional look.
School or church production: Use a modular truss setup so you can reconfigure the stage for different events without buying a completely new system.
Festival booth or trade show: Use truss to mount lights, signage, and branding elements while keeping cables tidy and the booth footprint organized.
Conclusion
Using truss for building an effective stage with light rigging is one of the smartest ways to create a safe, flexible, and professional event setup. When you choose the right truss sections, match them with the proper clamps, and plan your load distribution carefully, you get a rig that is easier to build and more reliable during the show.
Whether you are working with F34 truss, a Pro Truss Clamp Coupler, or a simple half-coupler or trigger clamp, the goal is the same: create a stage system that supports your lighting safely and helps your event look its best. With thoughtful planning and good hardware, even a beginner can build a clean and effective lighting rig.
Stay Updated
Get notified about new products, deals, and industry guides.
No spam. Unsubscribe anytime.
Products Mentioned in This Guide
Shop the equipment referenced in this article.
Quick-Release Coupler Clamp for F34
$30.00
Quick-Release Trigger Clamp for 2" (50mm) Truss Tubing | One-Handed Stage Lighting Clamp | 165 lb SWL
$19.99
Heavy Duty C-Clamp for 2" (50mm) Truss Pipe | Aluminum Stage Lighting Clamp | 165 lb SWL
$9.99
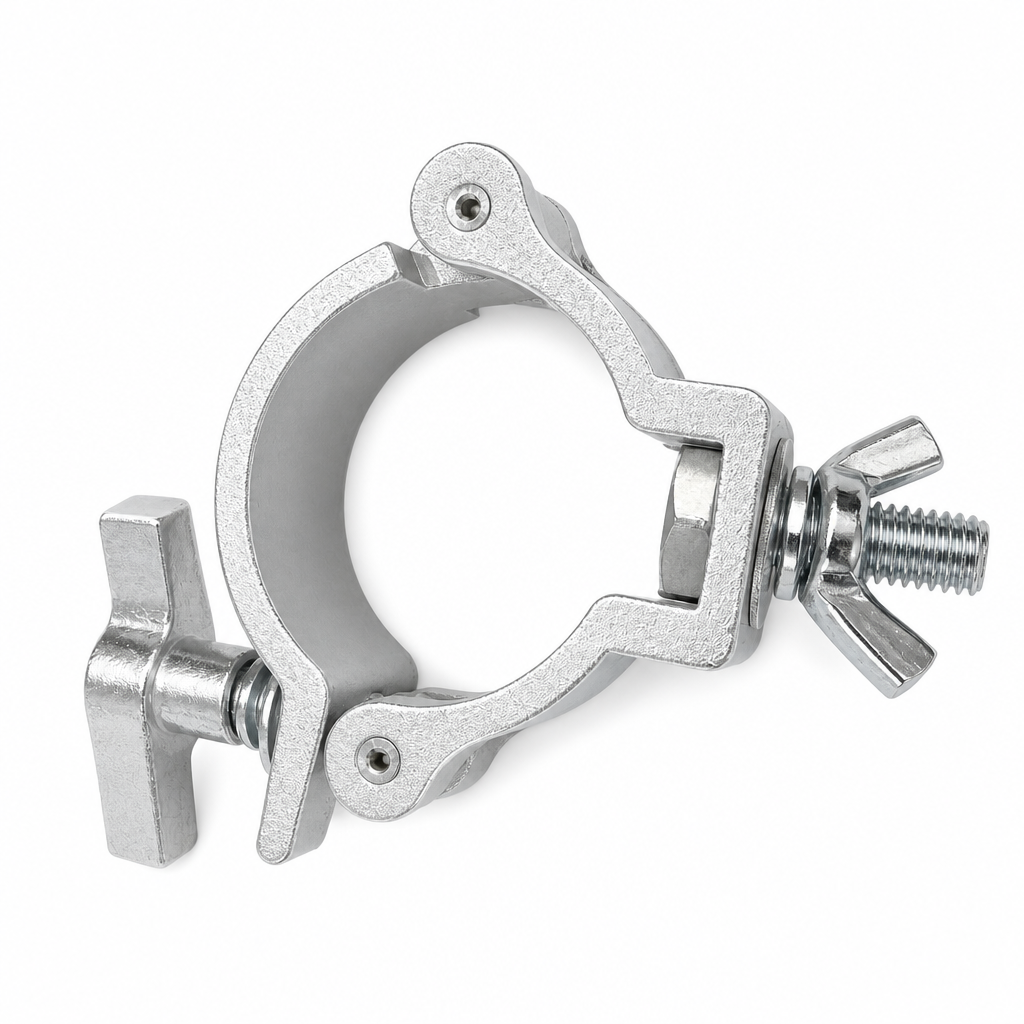
Heavy Duty Half Coupler Clamp Type 2 for 2" (48–51mm) Truss | Hinged Stage Lighting Clamp
$14.99
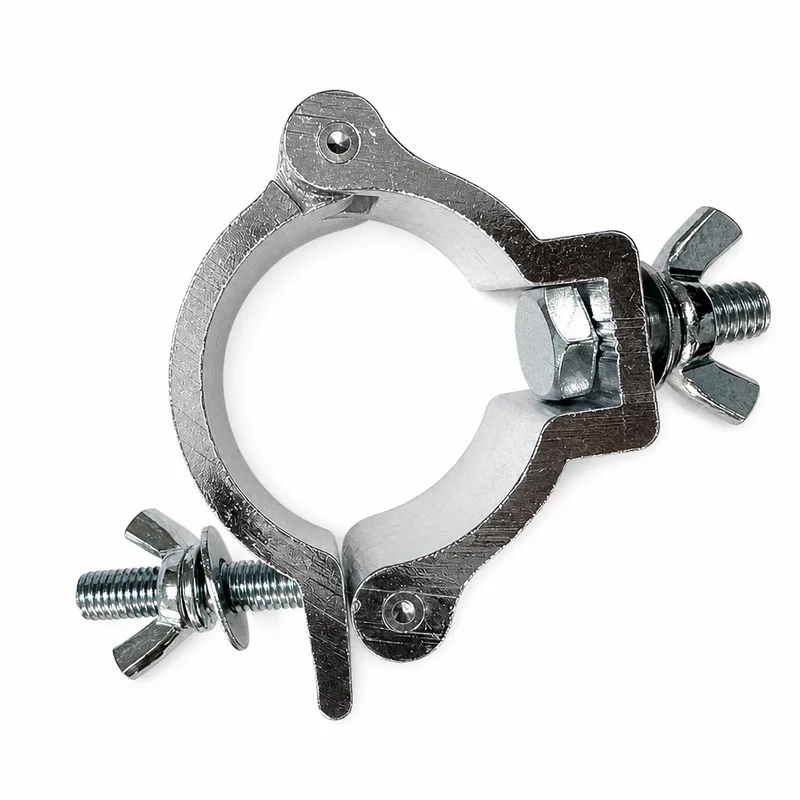
Half Coupler Clamp for 2" (48–51mm) Truss Pipe | Aluminum Swivel Stage Clamp
$14.99
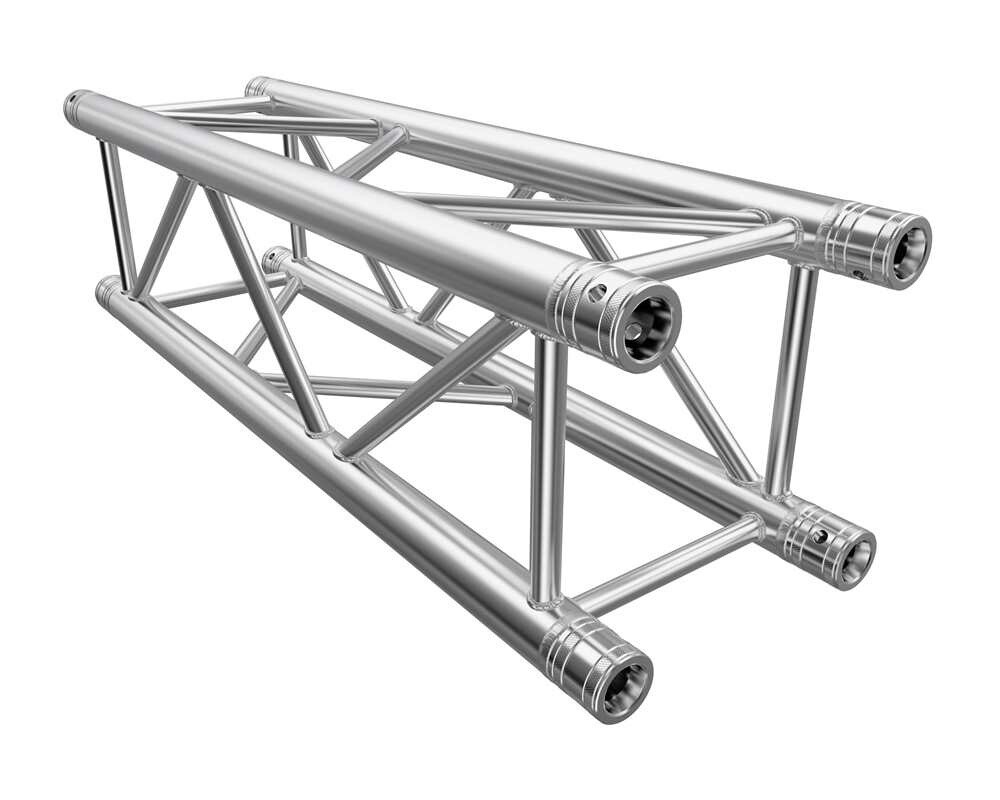
F34 1m (3.28ft) Straight Square Aluminum Truss | 290mm Box Truss | CCS Conical Connection
$179.99$165.00
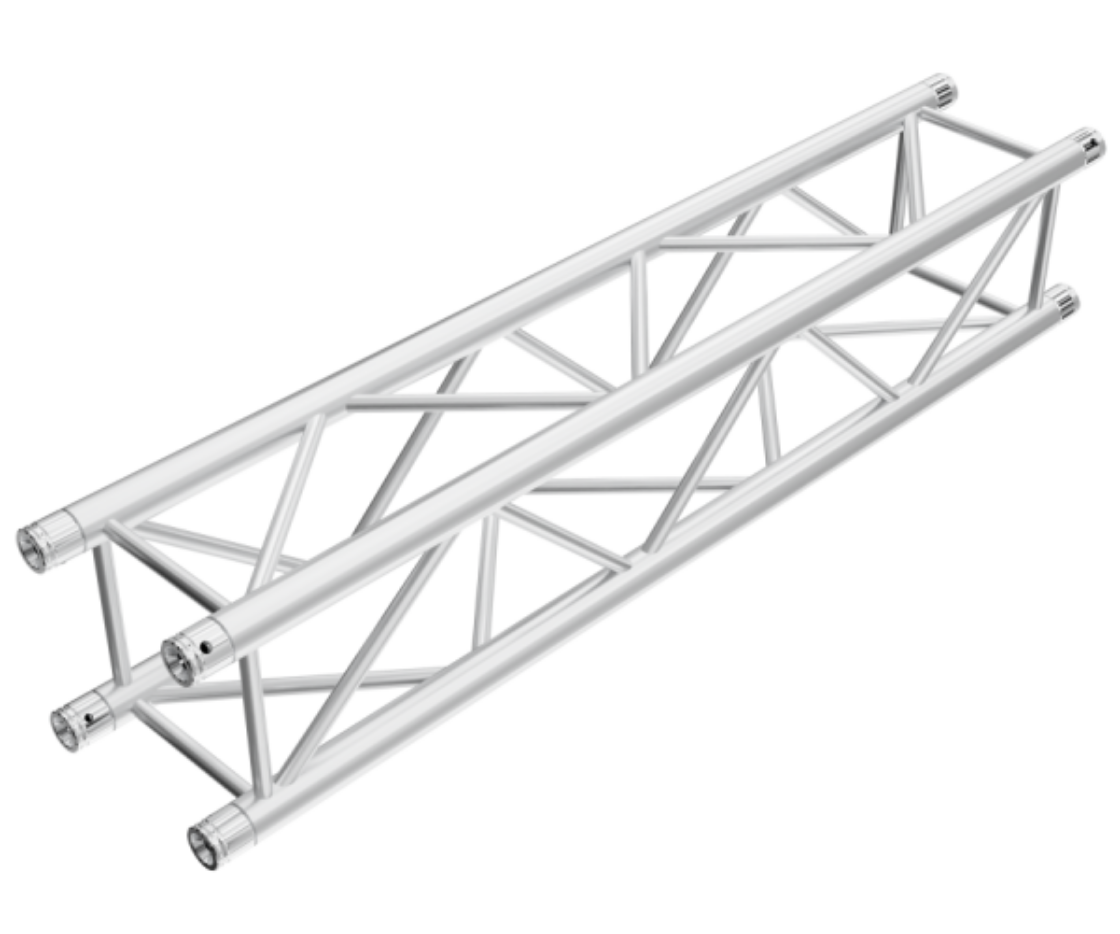
F34 2m (6.56ft) Straight Square Aluminum Truss | 290mm Box Truss | CCS Conical Connection
$349.99$330.00
Related Guides
Planning Your First Event Stage Setup: A Beginner’s Checklist for Truss, Lighting, and Rigging Equipment
Plan your first stage lighting equipment setup with truss, clamps, base plates, and rigging gear. Read the checklist and shop confidently.
Add Excitement to Your Party with Effects.
Make your party unforgettable with cold sparks, confetti, and CO2 effects. Shop Truss City for event effects and safety tips.
Truss Load Capacity and Structural Safety: Understanding Weight Ratings, Span Limits, and Engineering Calculations for Stage Rigging
Learn truss load capacity, span limits, and stage rigging safety basics. Read the guide for practical setup guidance.